brown-bread-in-a-can

I have to go to the dump.
I like going to the dump. The people who work there are always friendly and interesting and they have great stories about other people who come to the dump. People leave interesting things behind and with many New England town transfer stations, sometimes those interesting things still have a lot left to give and will go home with other dump guests to live a second life. But that’s not why I need to go to the dump today.
Today I need to get rid of my recycling. Sometimes I take a bag of trash too, but that doesn’t build up as quickly as the recycling, which is currently overflowing. Every time I walk by the precariously stacked pile of plastic, a container leaps from its perch to remind me I cannot continue to ignore it.
My best delay tactic in this errand is to repack my recycling container, putting like-things together and stacking similarly shaped objects. This usually adds enough space to give me a couple more days.
I have reached the end of my extension and this is why I need to go to the dump. Today.
But it was in the recent repacking to make more space that I came across something that reminded me there’s something I’ve been wanting to bake a small batch of. It was an empty diced tomato can. It wasn’t what the can held that was important, it was the can itself. Because I had that can in my possession, I could make brown bread.
When I was a kid, my dad introduced me and my brother to B&M Brown Bread, which comes in a can. I have always known and referred to it as brown-bread-in-a-can. You say it out loud like its all one word.


There may have been other brands, but I have only known this one. It was memorable because the can was larger than most other cans that I was used to at the time. Twice as tall as a soup can and wider too. You sure there’s bread in there?
The picture on the front was a cylindrical loaf and it looked like bread on its inside and mostly because dad said it was so, therefore it must be bread.
Ok. How do we get it out of the can?


This piece of magic was (and still is) the coolest thing about brown-bread-in-a-can. With most canned items, you open one side and then scoop or pour the contents to their desired location. But canned bread wasn’t meant to be scooped.
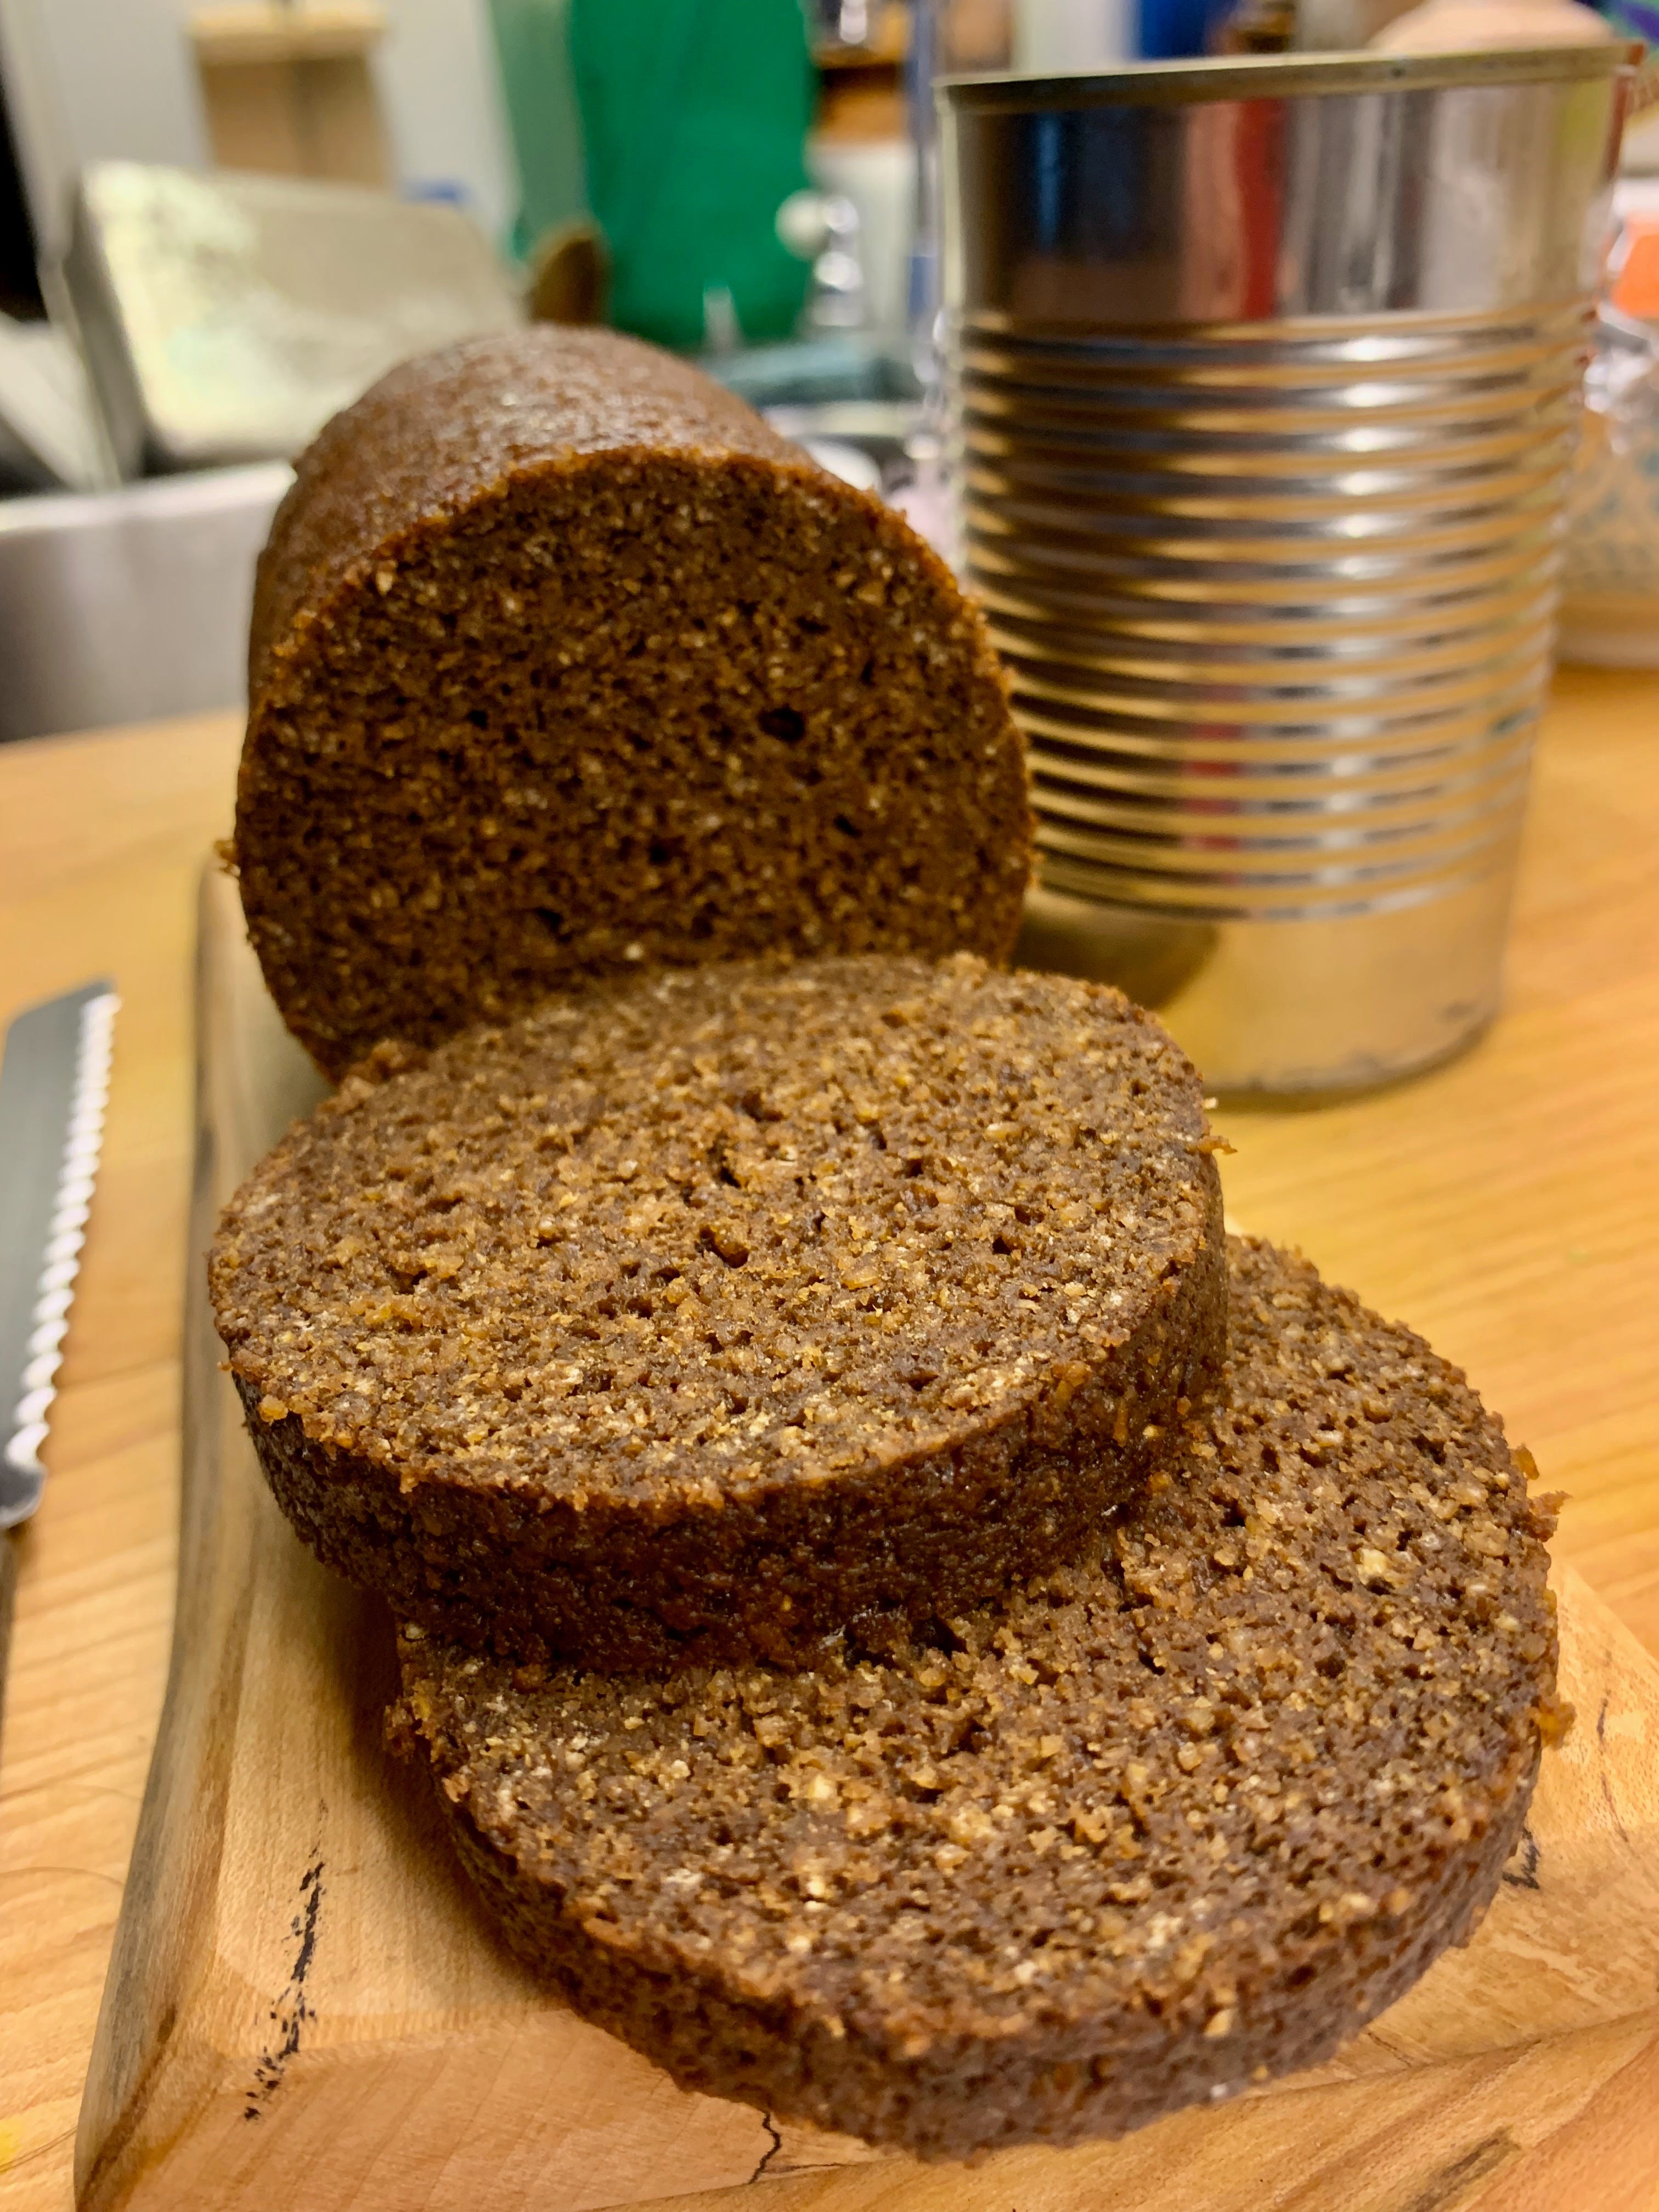
You remove the lide form one side, then use your can opener to remove the bottom as well. Once detached, you place the bottom disk over its original opening and push, extruding the brown bread out of the can. Out it came. A perfect cylinder with evenly spaced rings imprinted down its side from being cooked in the can.
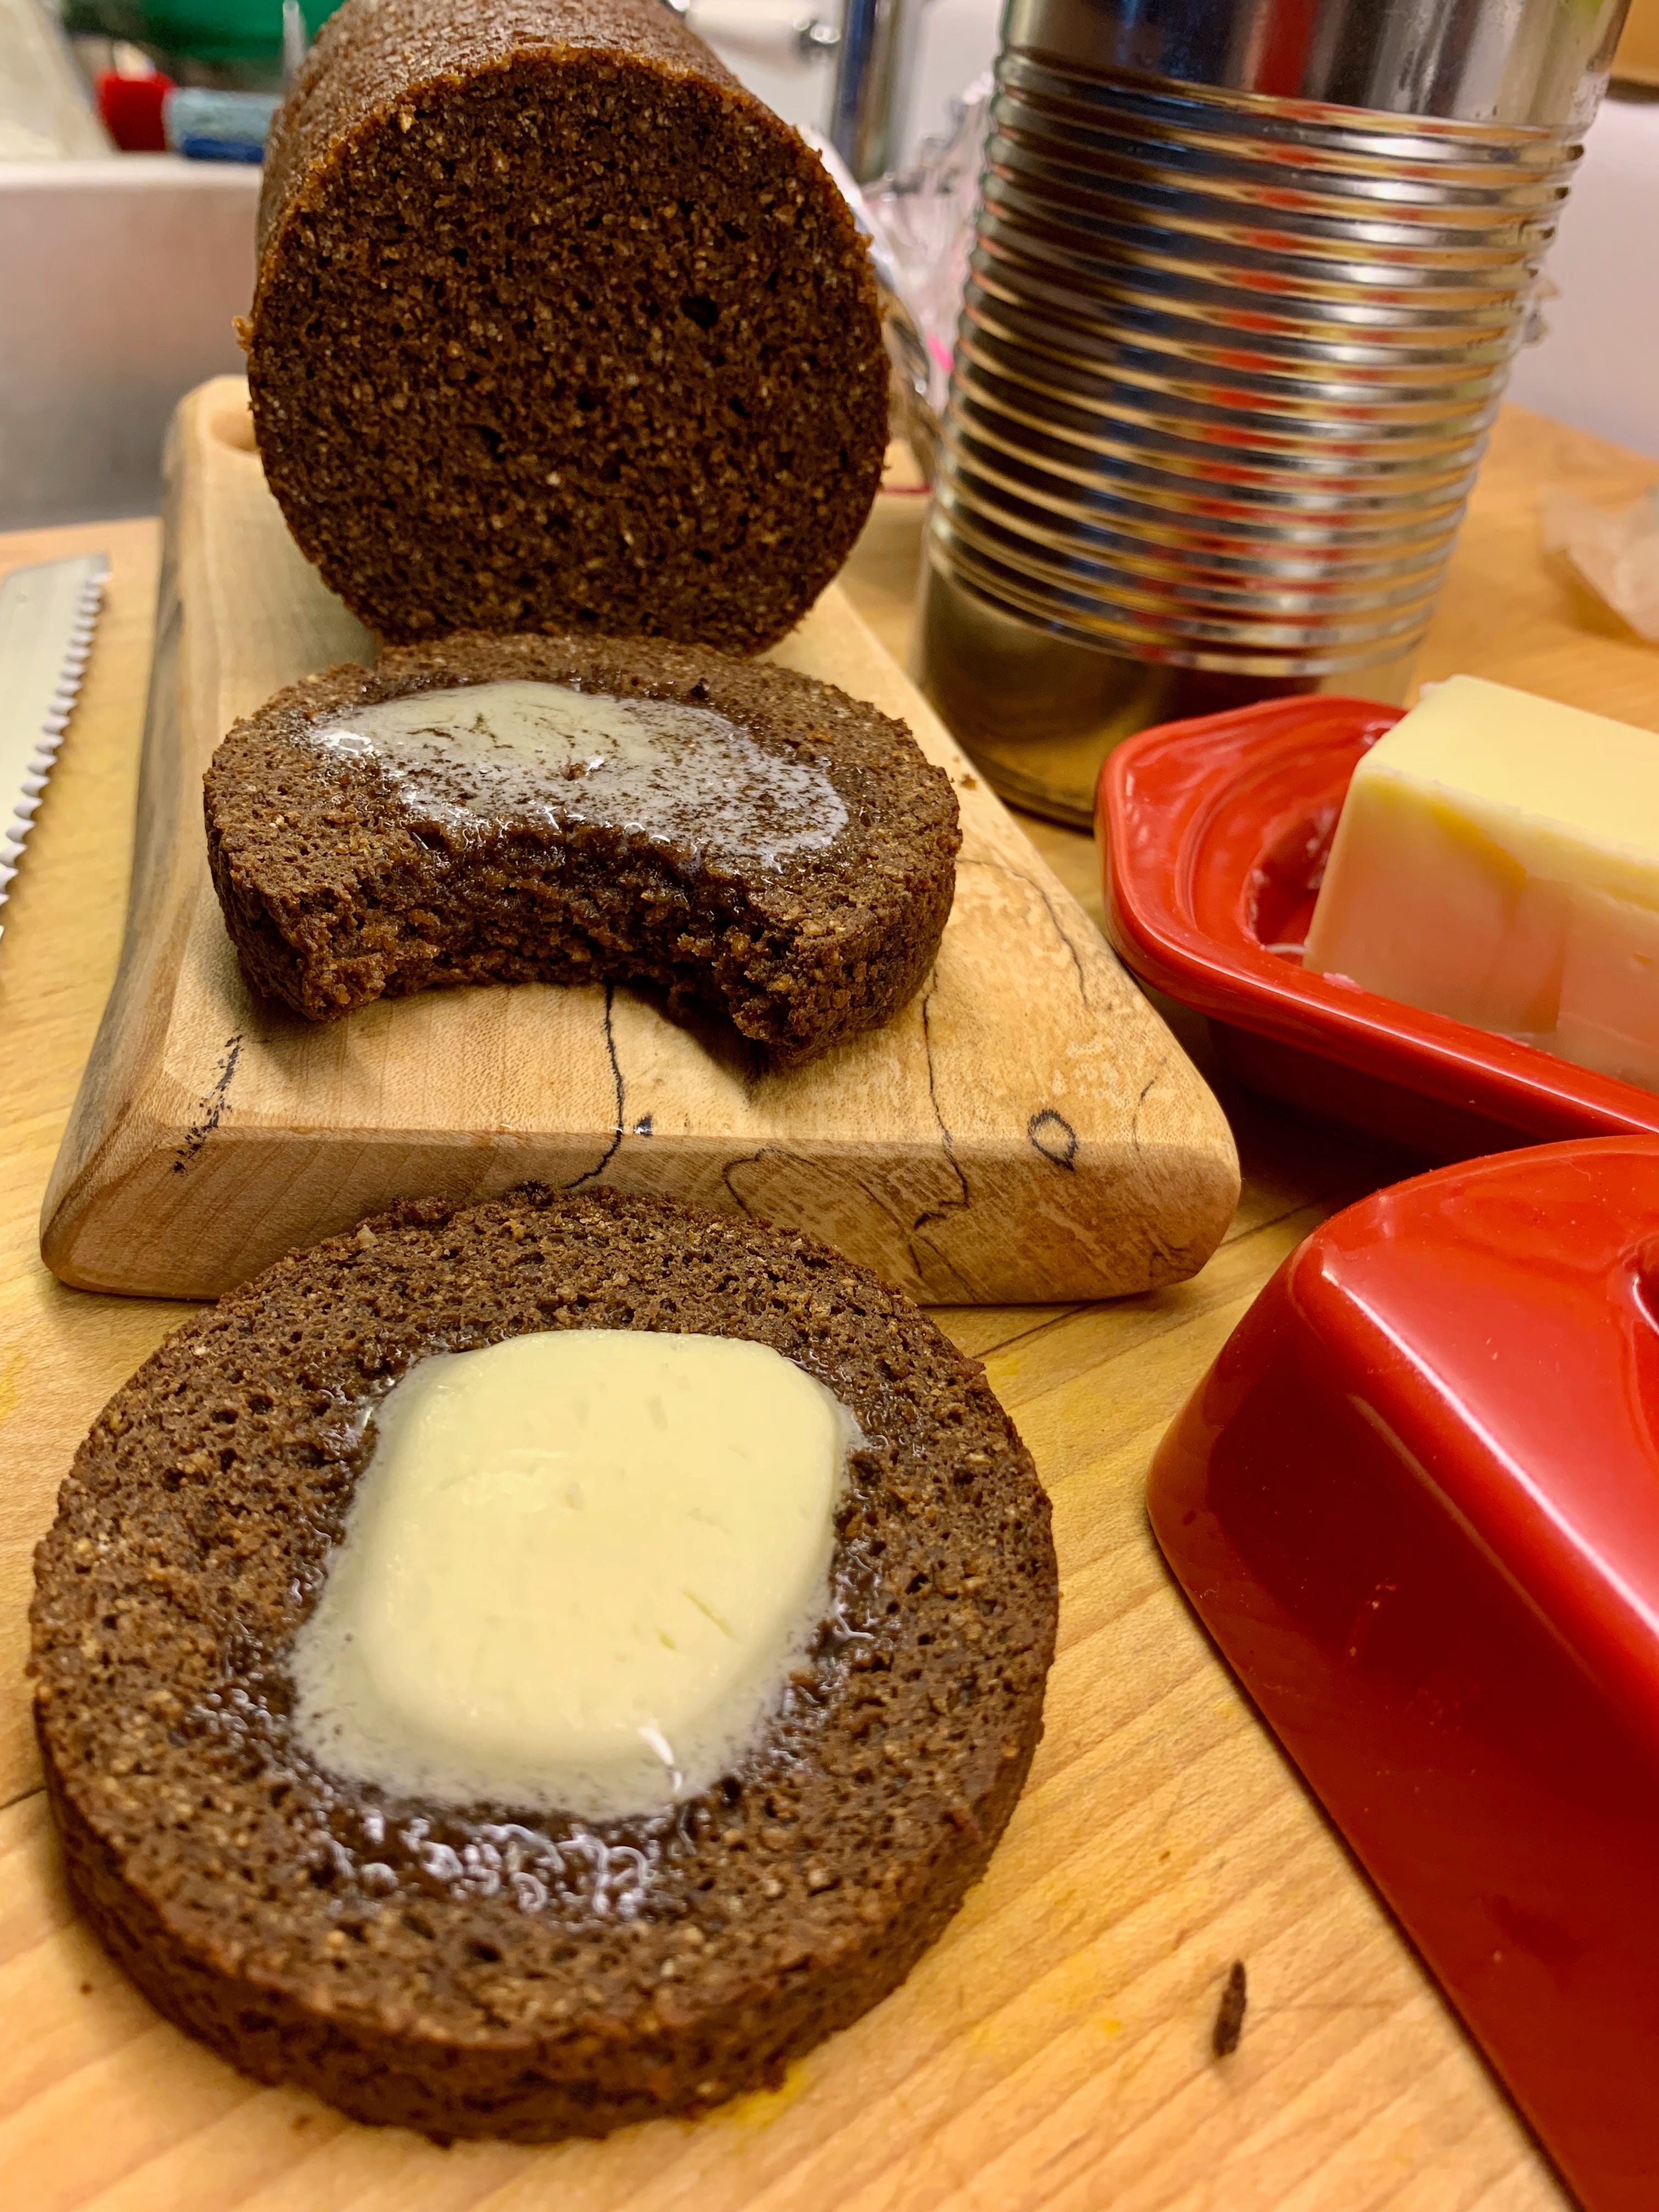
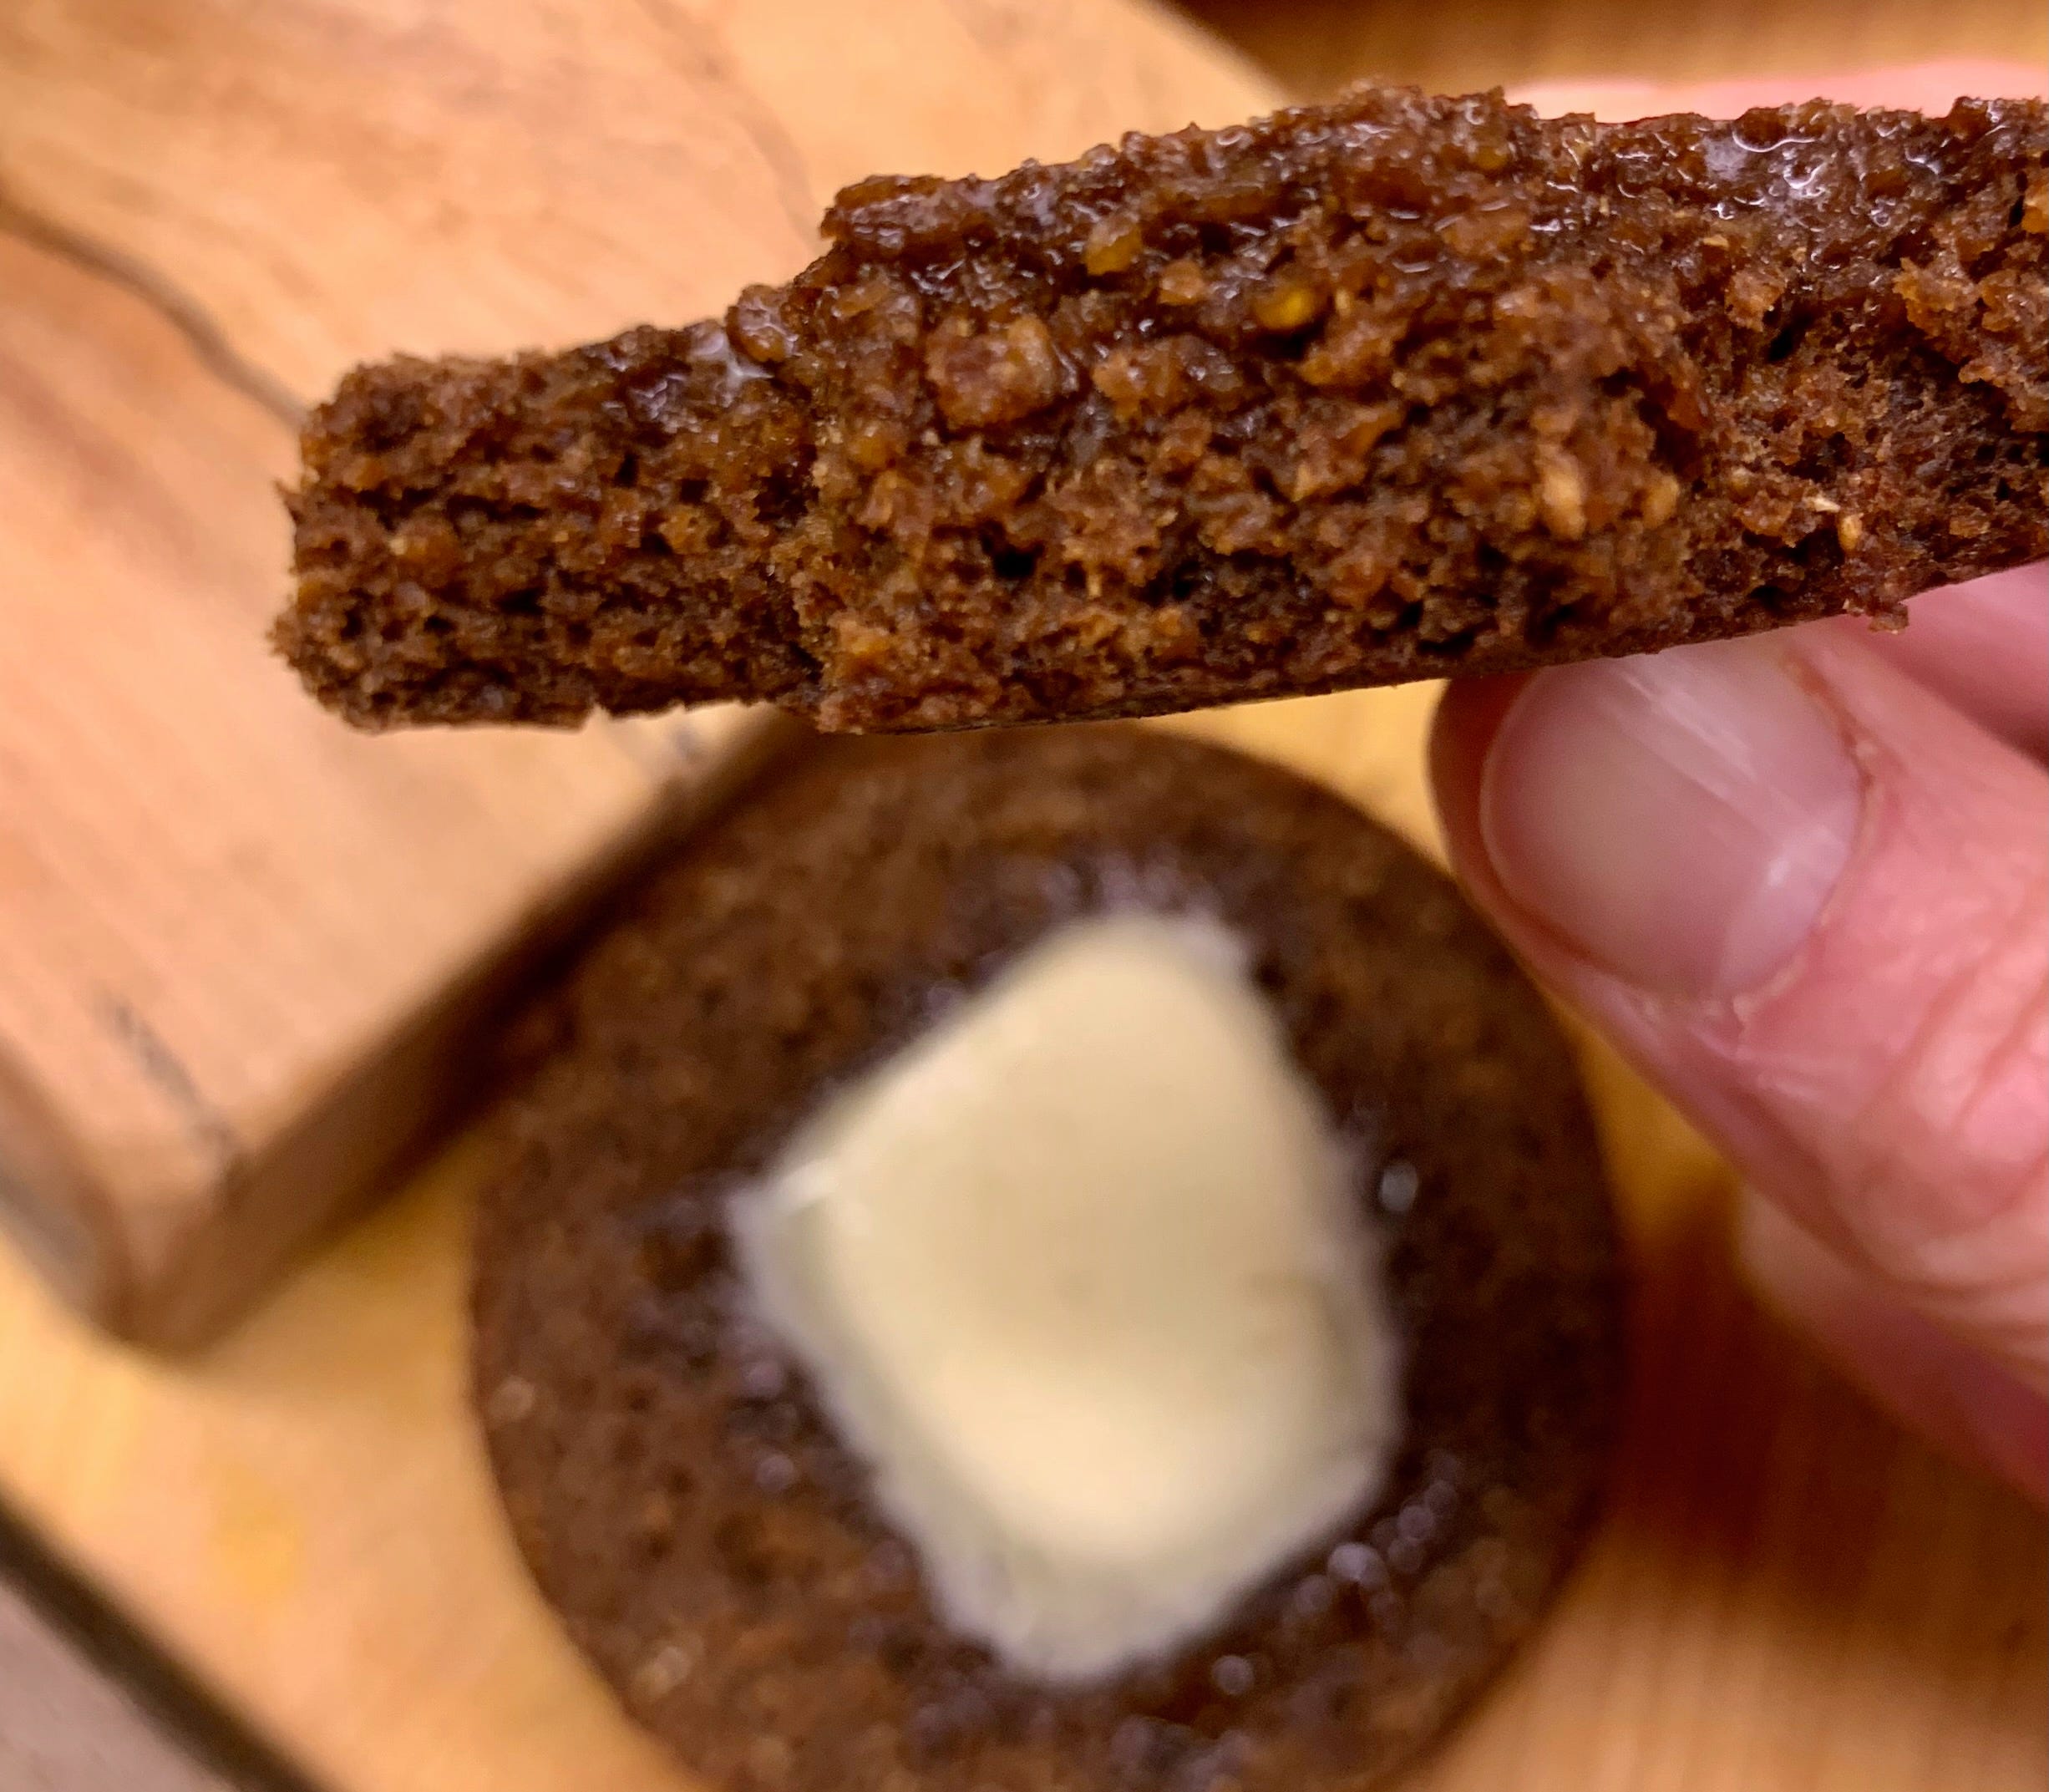
We were taught to cut off a 1⁄2 inch slice (or two) and toast them. Then smother the brown discs with butter, which if you did quickly enough would be soft and melting by the time it got to your mouth. Cream cheese was another option but it paired better with the raisin version. Especially if you toasted it long enough for the edge of the circumference to crisp and maybe even char a little.
It wasn’t until much later in life that I learned about brown bread being a traditional New England food. Specifically as an accompaniment to beans and franks on a Saturday night. This sounded like something I needed to try, just so I could say that I did. So I recruited some friends, one who offered to make the Boston baked beans from scratch. Great!
It was in researching a recipe that I learned brown-bread-in-a-can is steamed. This blew my childhood mind. I knew how to eat it, that was it. Not only was it steamed, but you had to cook it for 2 hours or more. This was more of an endeavor than I realized, which was only emphasized by the aluminum foil hats I had to make for each can. But overall, the process wasn’t actually difficult and my first steamed bread came out beautifully, along with the Boston baked beans. We enjoyed this one fall Saturday evening in New England.
Finding an empty can in my recycling reminded me about brown-bread-in-a-can. It had been years since that Saturday night dinner and it was time to try it again. But I didn't need the 6 loaves that I produced the first time. I needed enough just for me.
The recipe I originally used is from newengland.com and appeared in Yankee Magazine. I have reduced it to 30% of it’s original size and mine fit perfectly in one 14 or 15 oz can. You can play with the can size depending on what your recycling has to offer. Here is the reduced recipe and here is how I made it happen.
ingredients
34g whole wheat flour
34g rye flour
41g yellow cornmeal
2.7g baking soda
1.6g salt
76g molasses
136g sour cream (I used 10% fat plain Greek yogurt)
45g raisins (optional)
directions
Whisk together the dry ingredients in a bowl.
Add the wet ingredients and stir to form a smooth batter.
Place a couple of Mason jar rings in the bottom of a pot and add about 2 inches of water. Turn the pot on to get the steam started.
Meanwhile, spray the inside of your can and fill with batter to about ⅔ of the way full.
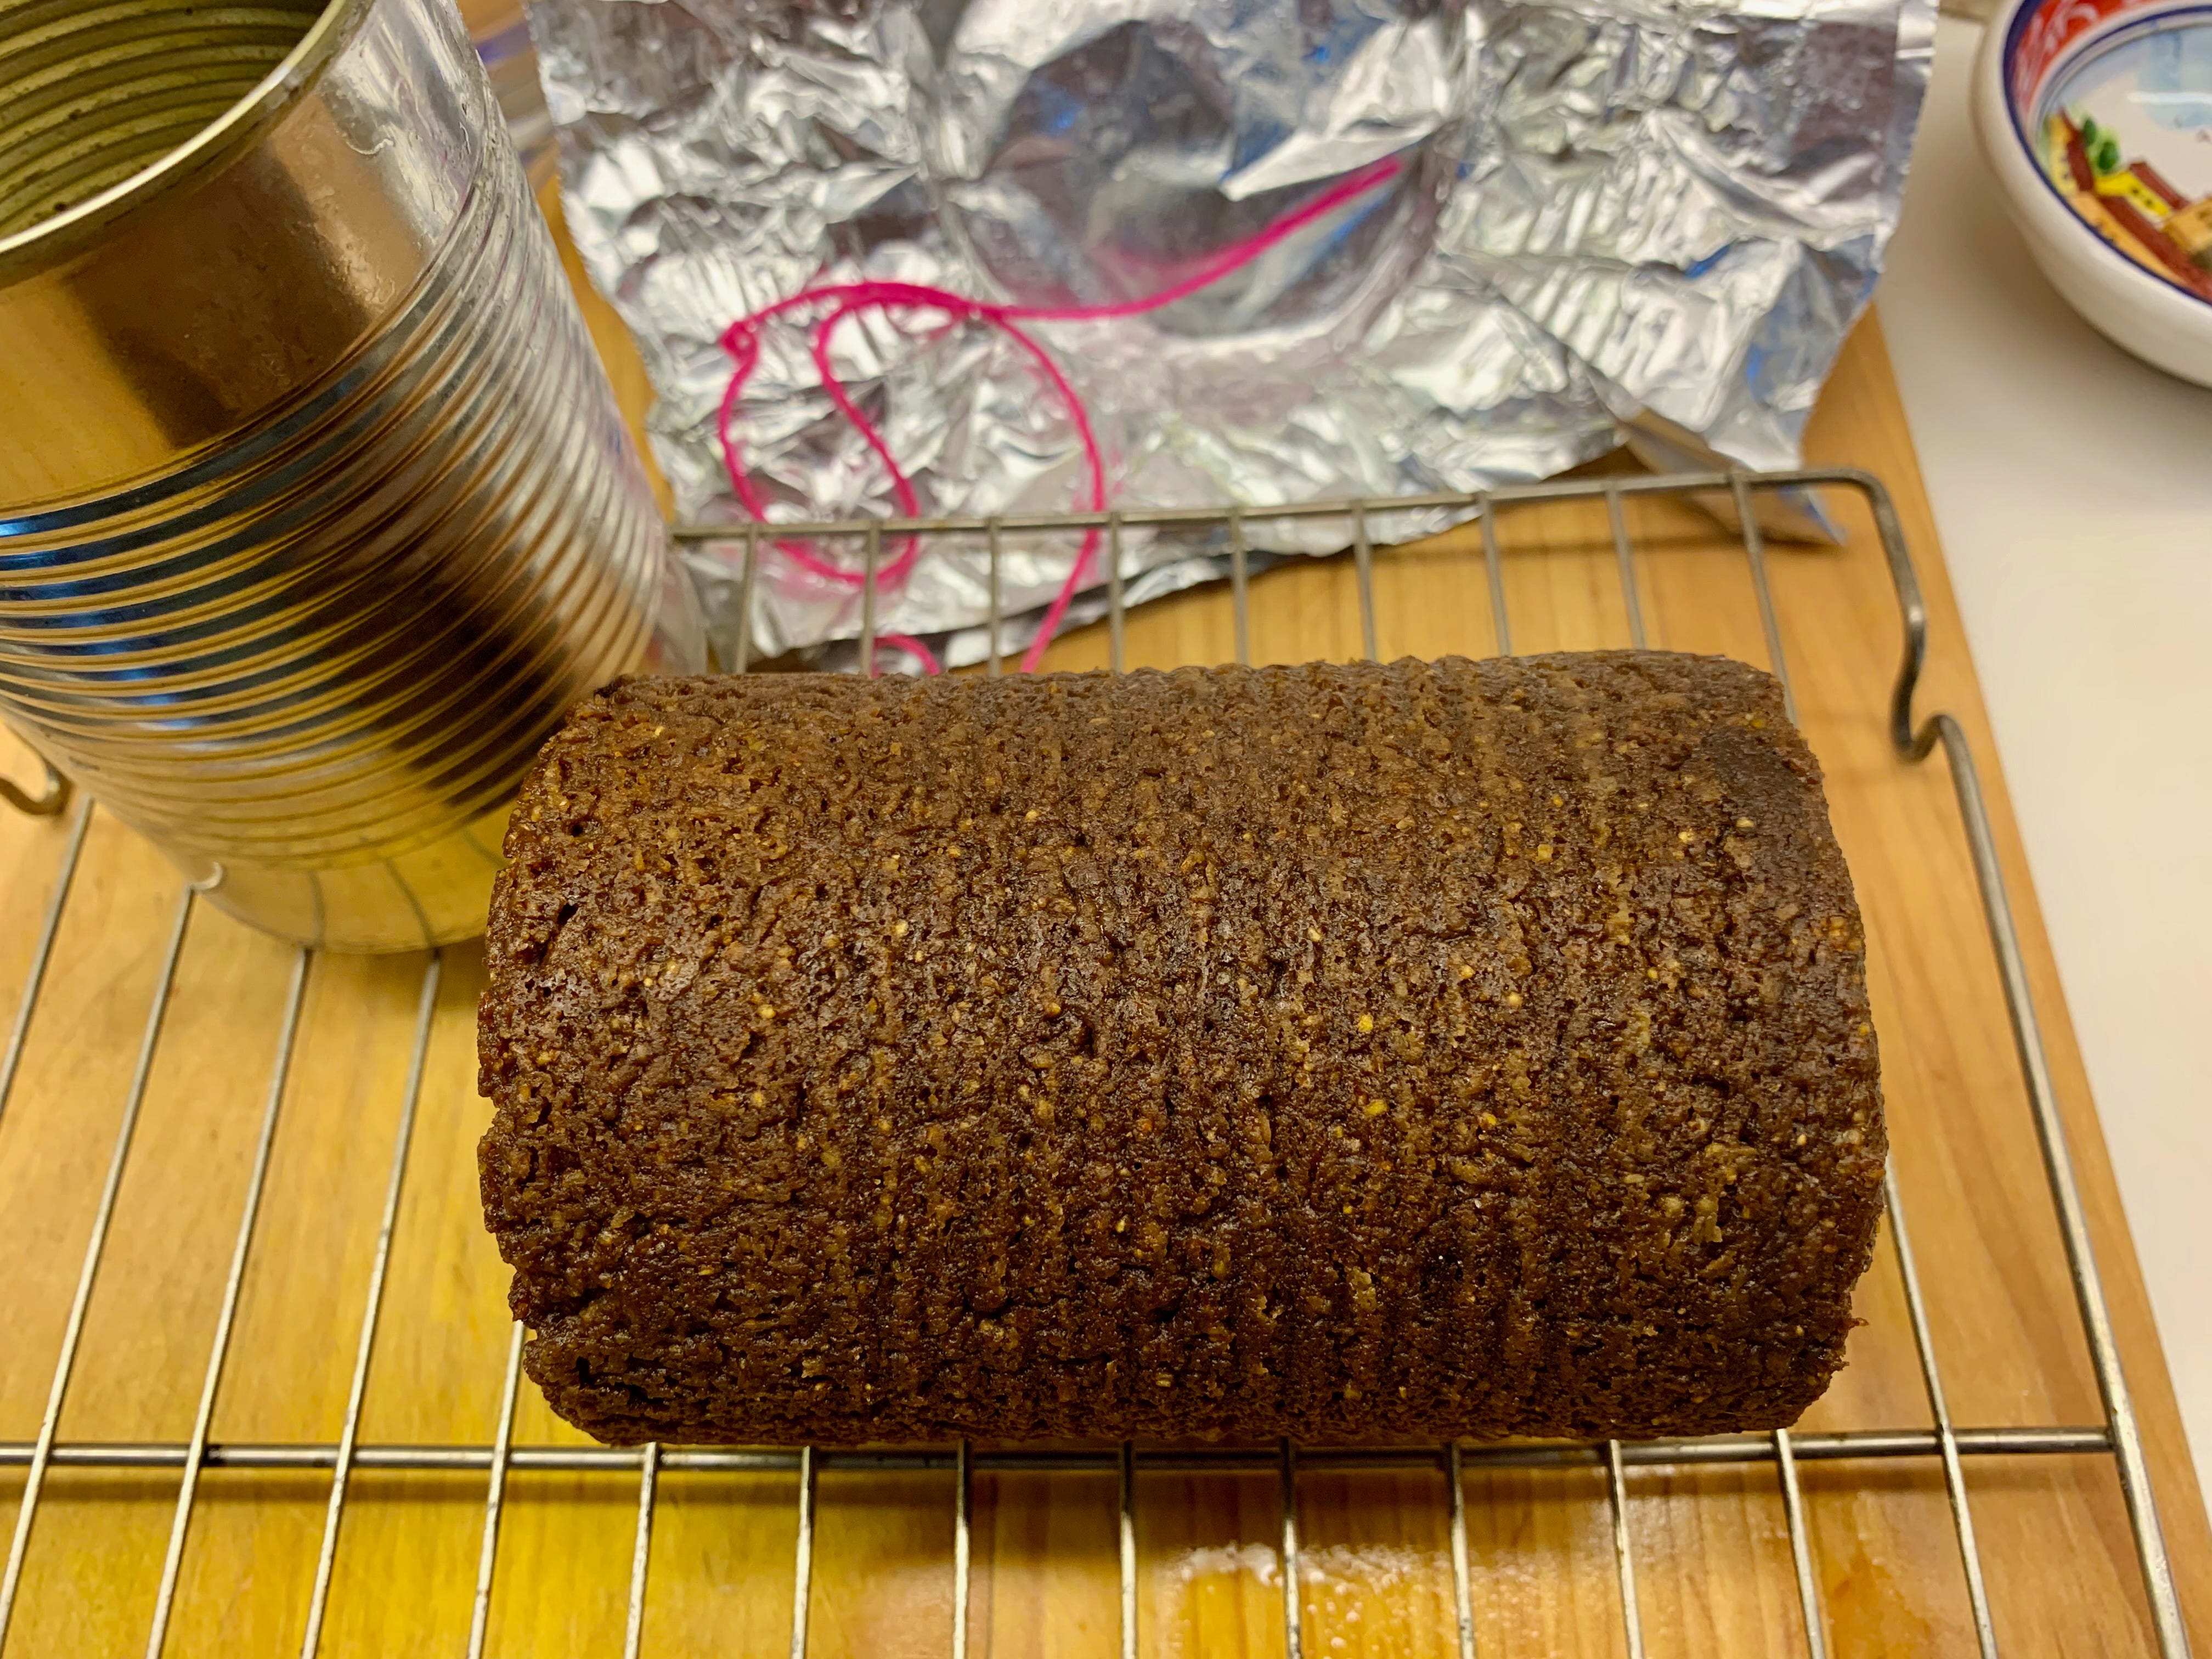
Fold a piece of aluminum foil over the top of the can and tie it in place with a piece of string.
Place your filled, capped can on to of the Mason jar rings, so it sits off the bottom of the pot
Cover and let steam for about 2 hours, adding more water as needed.
Your bread is done when your cake tester comes out clean.
I could see the bread had pulled away from the side of the can when I was done, so I dumped mine out on a cooling rack within a few minutes. The ring impressions were on the sides AND the bottom. Just like I remembered. I sliced two slices as soon as it was cool enough to touch. The butter was already waiting. It warmed and melted and oozed down into the spaces making each bite as blissful as the last.
Wonderful. Reminds me of when we three boys were little. I never liked the beans but loved the bread in a can